


sketching Secrets: Mastering Shading and Perspective to Create Deep, Realistic Forms
Stop drawing flat shapes! This essential guide reveals the foundational techniques of shading (value) and linear perspective (depth) that will instantly transform your sketches into convincing, three-dimensional art.

Ever felt like your drawings—even with perfect outlines—just look... flat? You're not alone. It's the most common roadblock new artists hit. The simple truth is: lines show you what something is, but shading and perspective show you where it is and what it feels like.
If you can master these two core skills, you’ll start turning those static shapes into forms that have real weight and depth. Let's dive into making your paper feel three-dimensional.
Shading: The Magic of Light and Value
Shading is how we trick the eye. By using different levels of light and darkness (what artists call value), we can simulate how light falls on an object, instantly giving it volume and form.
Understanding the Five Key Players
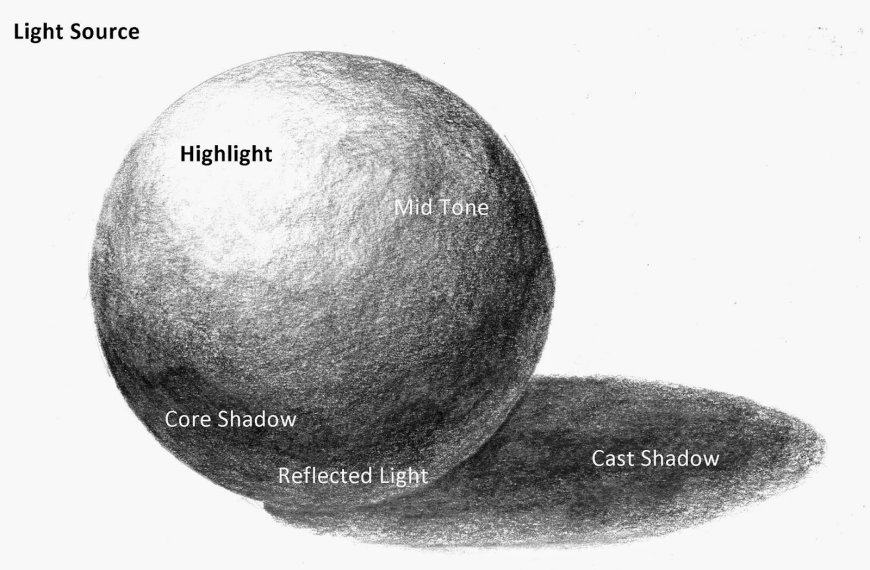
To shade anything convincingly, you must first commit to a single light source and then locate these five key zones. Think of this as the non-negotiable checklist for a fully-realized form:
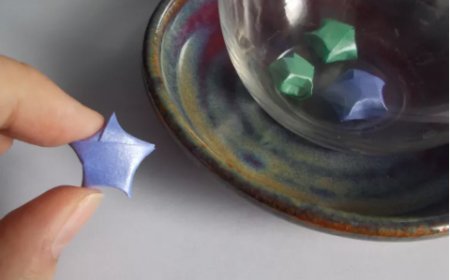
- The Highlight: That little bright spot where the light is hitting and reflecting the most. It’s usually the whitest part of your drawing—don't be afraid to keep it small and punchy!
- Mid-Tone: The main body of the object that's illuminated. This is the bulk of your object's color or value.
- Core Shadow: The darkest part of the shadow that rests on the object itself. This is the line where the surface truly turns away from the light.
- Reflected Light: Wait, a light spot in the shadow? Yep! This subtle light is bouncing off the table or whatever the object is sitting on and reflecting back onto the form. It helps separate the object from its cast shadow.
- Cast Shadow: The darkest, often soft-edged, shadow the object throws onto the ground. It’s always darkest right where the object meets the surface and gets lighter and fuzzier as it moves away.
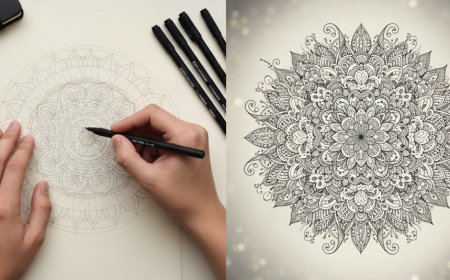
Pencil-Work: Your Shading Style
Your technique determines your texture. It’s worth practicing these to see which one suits your style best:

| Technique | The Vibe | How to Use It |
| Blending | Smooth and Soft. You build up graphite lightly, in layers, then use a blending stump or even a bit of rolled-up paper to create a seamless gradient. | Perfect for smooth surfaces like skin, polished stone, or glass. |
| Hatching | Sharp and Expressive. Just draw a bunch of parallel lines. The closer the lines are, the darker the tone. It looks great when the lines follow the contour of the object | deal for quick sketches, adding direction, or giving fabric a linear texture. |
| Cross-Hatching | Deep and Dramatic. Hatching, but now you draw a second set of lines that cross the first set. This builds shadow super fast and adds intensity. | Best for intense contrast and strong, graphic shadow areas. |
| Stippling | Stippling Pointillist Perfection. Building value by using only tiny dots. The denser the dots, the darker the tone. | A tedious but beautiful method, usually done with pen and ink for a unique texture. |
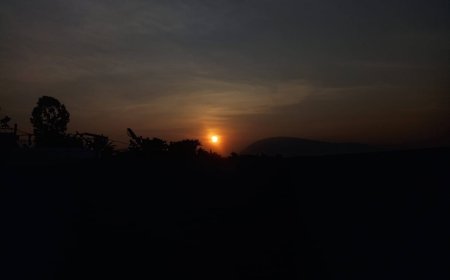
Perspective: Leading the Eye Into the Distance
While shading gives things volume, perspective is the system that creates believable space. It’s the framework that convinces the viewer that your road or building is actually moving away from them toward the horizon.
The Perspective Playbook
To set up any perspective drawing, you need to understand three simple terms:
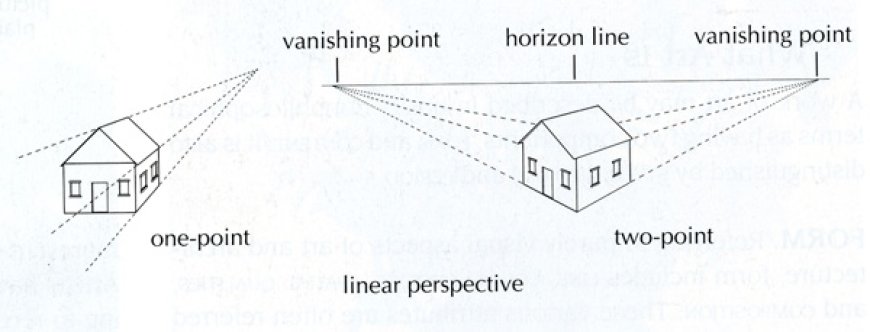
- Horizon Line (HL): Simple—it’s always your eye level. If you stand up, the horizon moves up; if you kneel down, it moves down. All your VPs live on this line.
- Vanishing Point (VP): That single spot (or spots!) on the Horizon Line where all the parallel lines in your scene seem to meet and disappear.
- Orthogonal Lines: These are your invisible guide rails. They are the lines that run from the corners of your object directly to the Vanishing Point(s). Always draw these lightly!
The Two Most Useful Perspectives
| Type | How It Works | Where You See It |
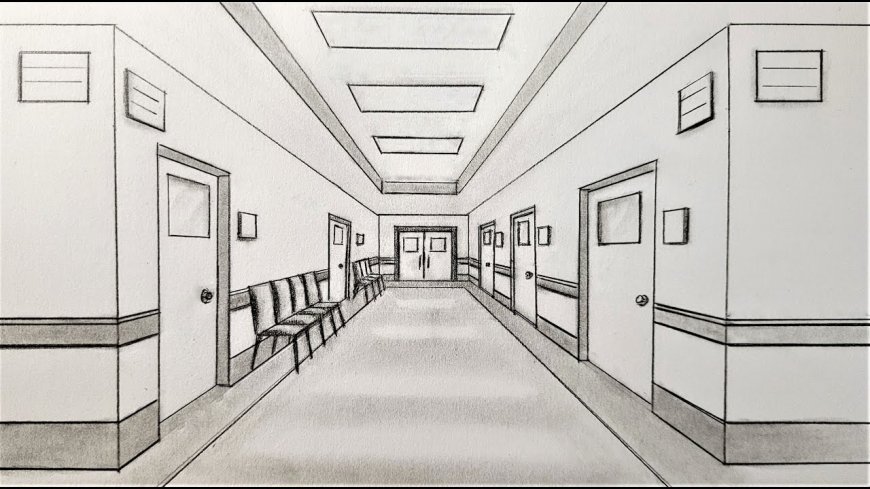
| One-Point Perspective | Uses one Vanishing Point. You are looking directly at the front face of an object. Only the depth lines travel back to the single VP. | Hallways, looking straight down a street, or any interior room. |
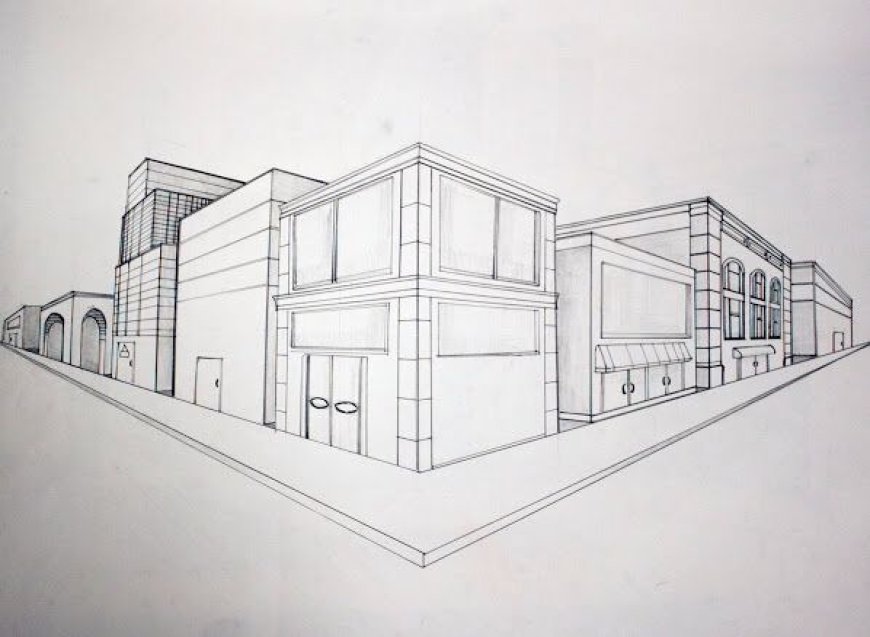
| Two-Point Perspective | Uses two Vanishing Points. You are looking at the corner of an object. The sides travel back to two separate VPs. This is the most common way to draw objects viewed from an angle. | Street corners, standing boxes, or most exterior buildings. |
By approaching drawing with the disciplined eye of a scientist (for perspective) and the freedom of an artist (for shading), you'll quickly break free from flat sketches and start drawing believable, beautiful worlds.
What's Your Reaction?
 Like
0
Like
0
 Dislike
0
Dislike
0
 Love
0
Love
0
 Funny
0
Funny
0
 Angry
0
Angry
0
 Sad
0
Sad
0
 Wow
0
Wow
0