


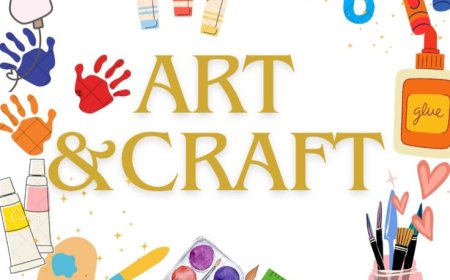


The Simple Guide to Folding Perfect Origami pretty little star
Learn the quick and easy method for making beautiful origami lucky stars. Follow our simple steps to master the pentagon knot, wrap the strip, and puff the final 3D shape for perfect results every time.
Easy Origami Star Instructions step by step -
-
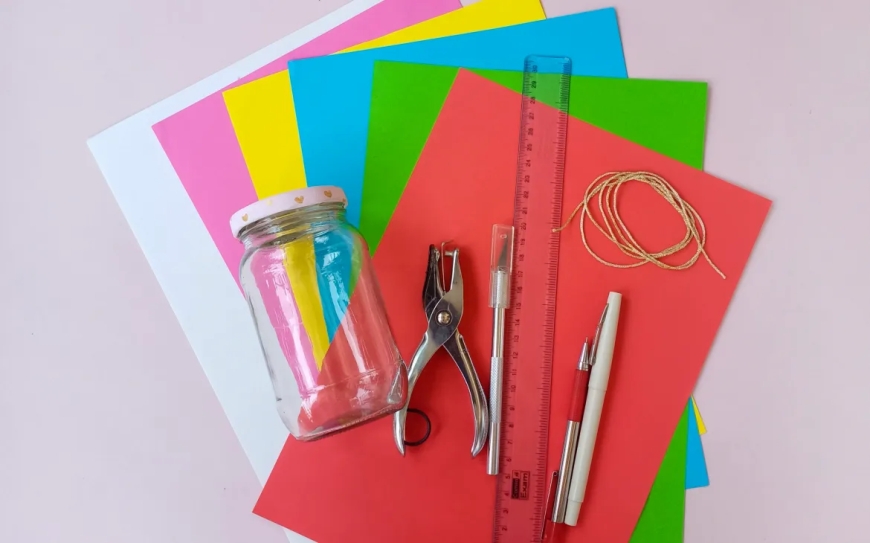
select the paper, the paper must be thin.
-
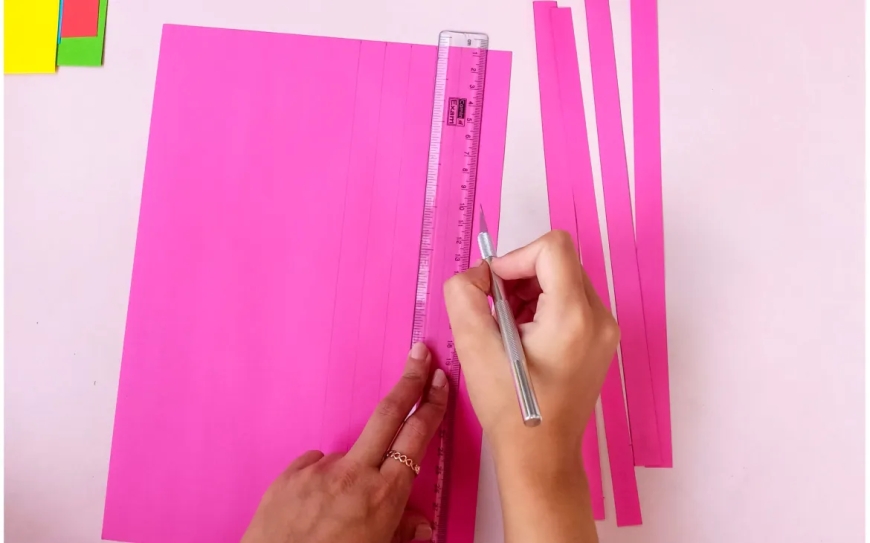
Cut the paper into strips measuring 1.5cm by 30cm. You can try other sizes if you want but this length & breadth worked best for me in making the perfect star.

-
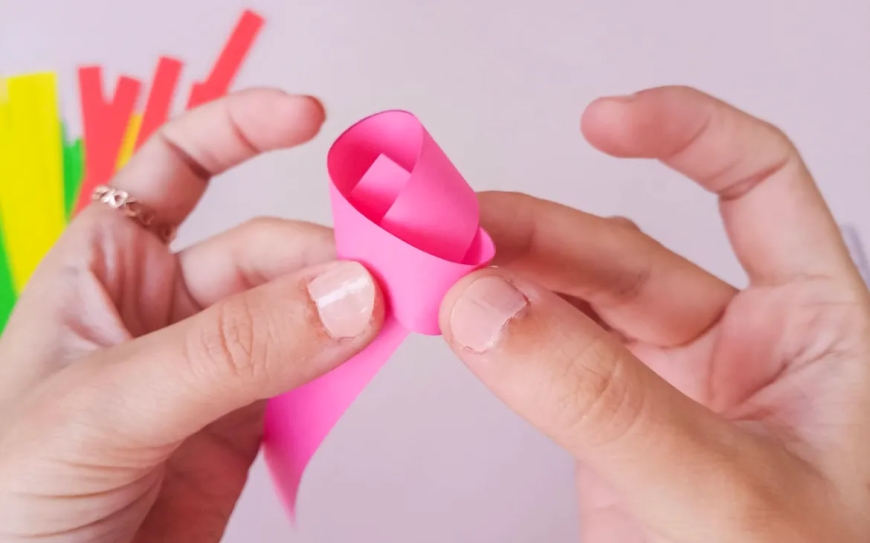
The trick to this lucky star origami craft is in folding the paper. So, once you’ve cut out your paper strips, take one and hold it in between your fingers as shown in the picture.
-
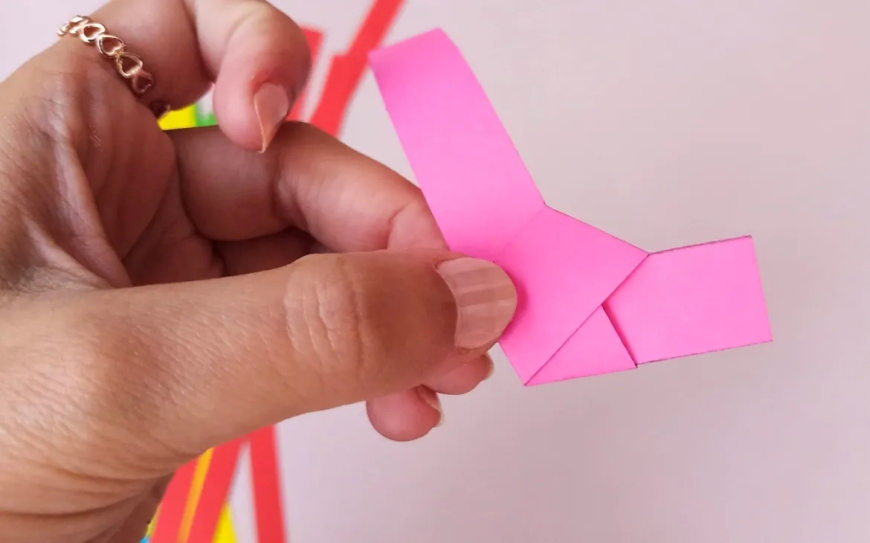
Now knot the paper as shown
-
tighten the knot and try to get it as close to the edges as possible.
-
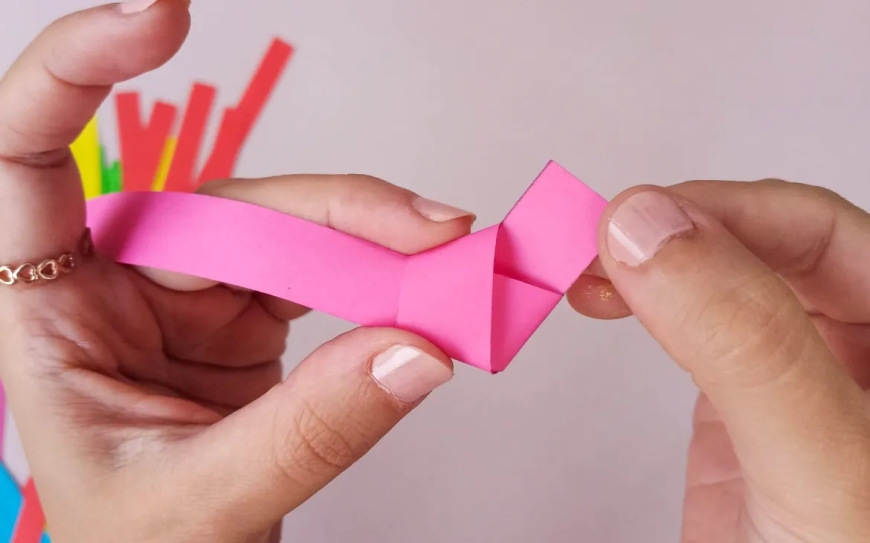
Once you’re sure that the knot is good, you can flatten the edges.
-
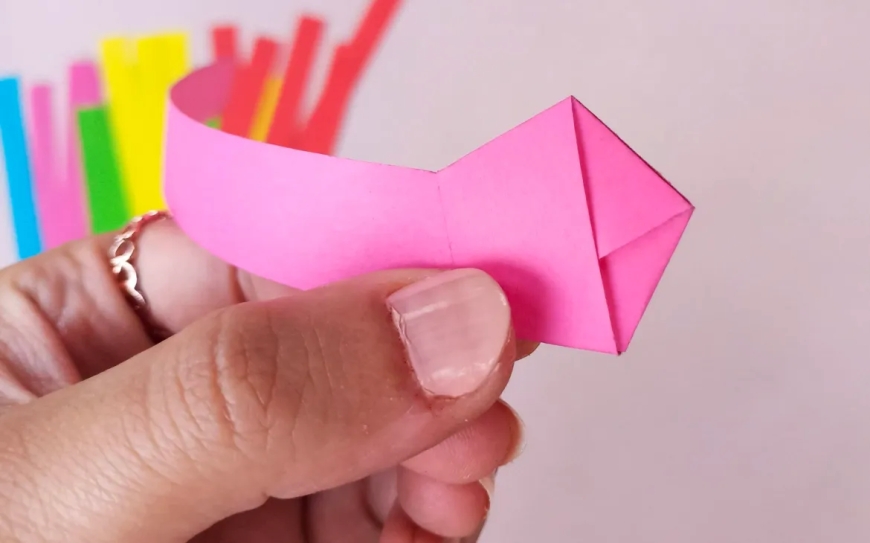
You can fold and flatten the short remaining part of the strip that is still sticking out and insert it into the pocket created by the knot.

-
Take your paper strip and start folding it along the edges of the pentagon. Keep folding until you reach the end of the paper strip.
-
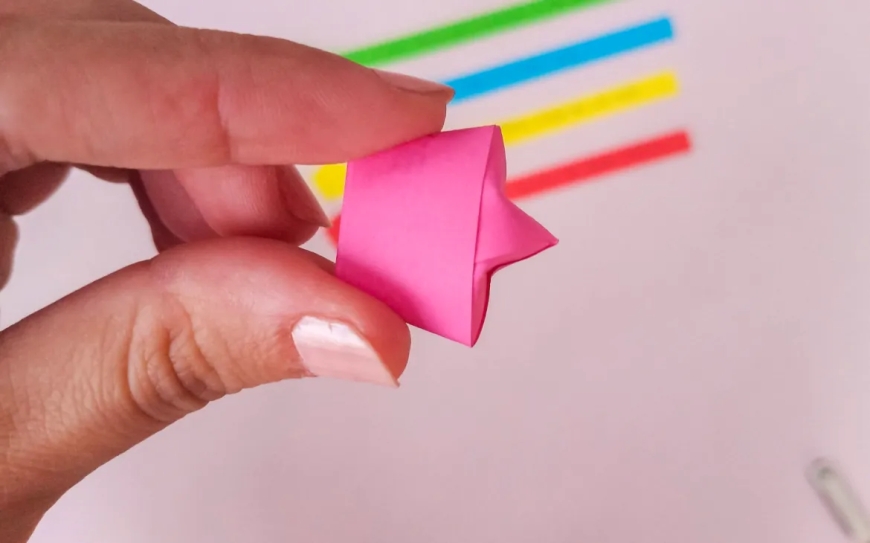
Fold the tail end into the pocket like we did before. The basic shape for the star is ready.
-
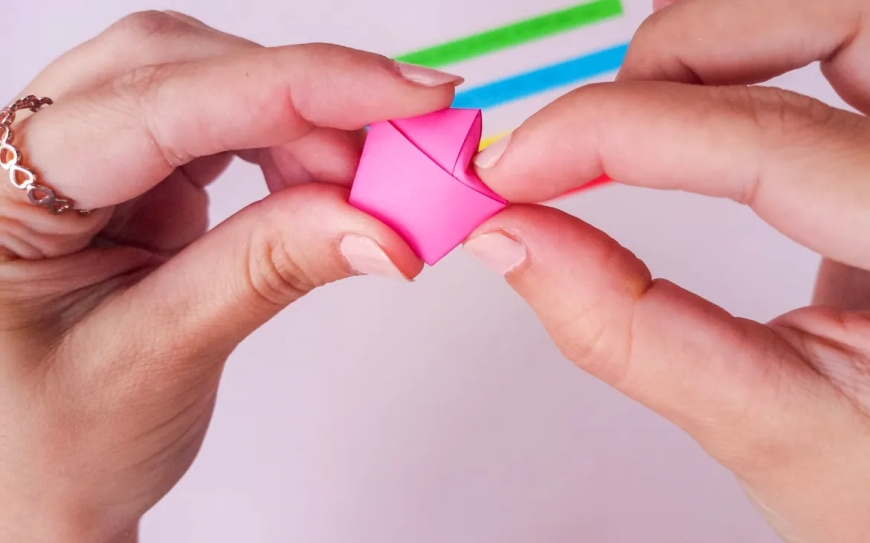
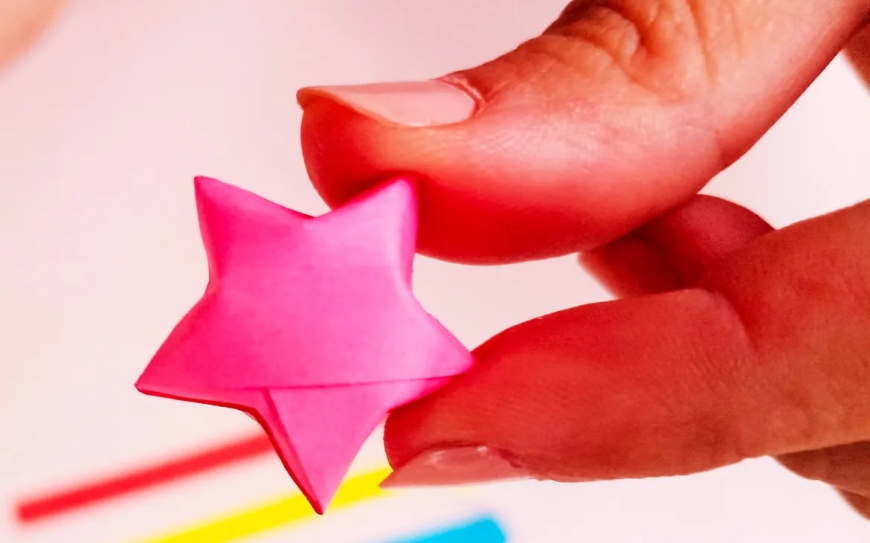
Now hold the pentagon between your thumb and forefinger as shown – this position provides maximum support and helps while puffing the star.
-
Now, I’ll show you how to make puffy paper stars. First hold it in one hand as shown and with the other hand gently push in from the middle. The star will begin to puff up. Do the same on all sides, and slowly your star will begin to take shape!
-
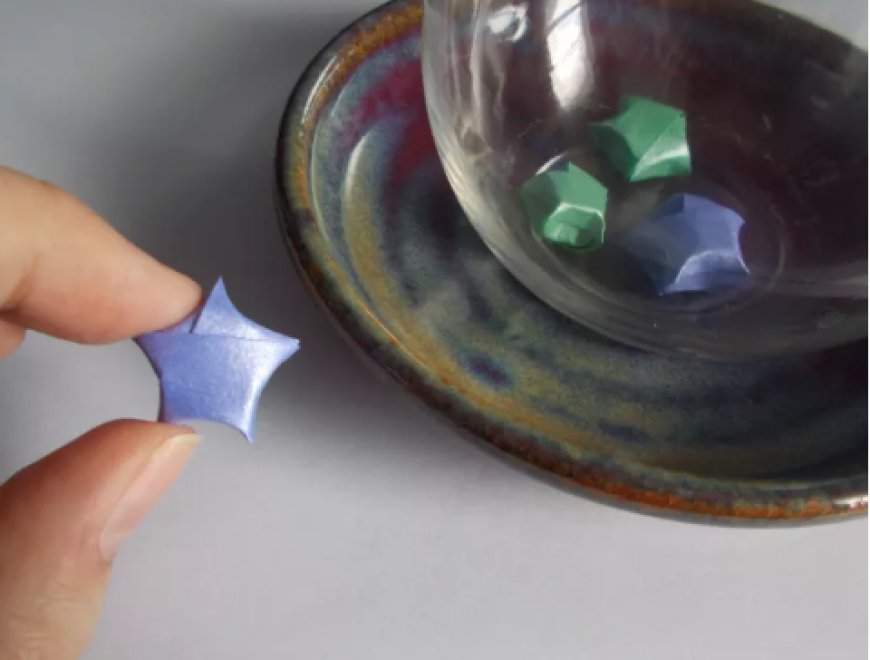
Ta-da! Your pretty little star is ready to go into the jar.
What's Your Reaction?
 Like
0
Like
0
 Dislike
0
Dislike
0
 Love
0
Love
0
 Funny
0
Funny
0
 Angry
0
Angry
0
 Sad
0
Sad
0
 Wow
0
Wow
0
Hema latha
Interested in innovation, technology, and business success stories. I enjoy analyzing trends that have a positive social and economic impact.